


 |
| Source: Barnes & Noble |

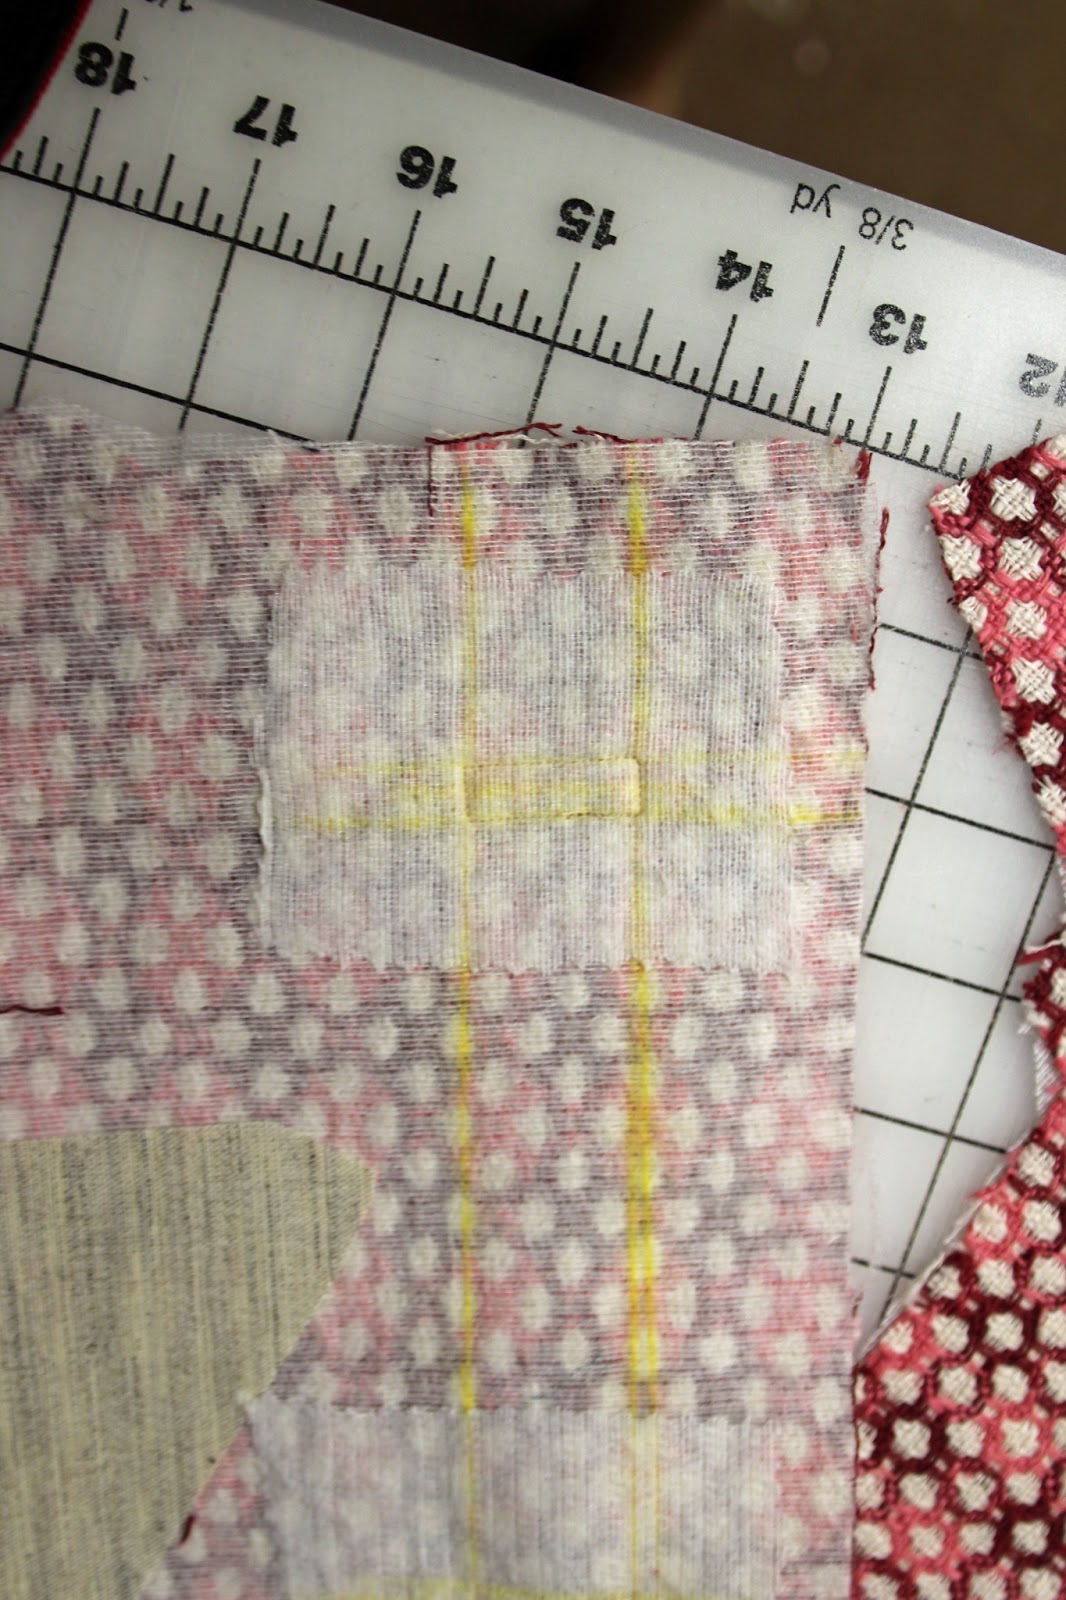
Next up, the most apprehensive part for me - BOUND BUTTONHOLES! A few weeks ago, I purchased, Did You Make That's The Bound Buttonhole e-book. What an excellent resource to help me make these bound buttonholes. I used all the steps and made two test buttonholes, which went together very smoothly with the help of the e-book. There was only one problem, the fabric I had cut for the welts frayed like crazy. What next? That was the question of the day. My first thought was to used a contrast for the welts, a denim I used on my pink Burda pants. I made another bound buttonhole with the pink and put the picture up on Instagram for a vote on which fabric.

 Do you have a preference? The self-fabric won on Instagram, so self-fabric it is. One thing from the pink denim I learned is the fabric did not fray and that made the process much easier. At the end of the
e-book, Karen has other sources for bound buttonhole tutorials. That started me looking for another method for the fraying fabric. I went with Sara's from Colette Patterns.
The main difference - Karen's e-book as two small pieces for the welts, Sara's uses a large bias-cut rectangle and you fold the lips. The larger piece worked better for my fraying fabric.
I did use all the markings from Karen's e-book, wanted to make sure the buttonholes were straight down the front and level.

Next I attached the lower front to the yoke and the lines vertically match so nicely (it did take 4 times!). I maybe should of matched the horizontal lines but this is pretty darn good and I am very pleased.


