


First I measured my laptop. It is 11" x 16", so I added 3" to each of these measurements, this allows for seam allowances and the sides of the laptop. The fabric will be cut 14" x 19" for my laptop measurements. NOTE: your measurements will vary according to the size of your laptop
Flap measures 6 x 9
ALL SEAM ALLOWANCES ARE 1/2" - except where noted
Step One:
Cut from outside (main) fabric and lining
2- sleeves (in my case 14 x 19)
1 flap (in my case 6 x 9) - this you might want to adjust according to your size of laptop and how much flap you want folded over to the front of sleeve.
If you are embellishing the front, do it at this time.

Step Two:
I use Soft and Stable instead of batting or interfacing. It seems to have a bit more "cushion" for the laptops. Cut 2 pieces the same size as the sleeves and baste to the main fabric pieces, basting all four sides.
Step Three:
Cut 1" squares on the bottom edge of the sleeve patterns. This will be the 2 main fabric pieces and the 2 lining pieces. See picture above to verify the bottom location.
 |
| yes, mine is bigger than 1" and it was too big for the laptop, so I adjusted for this tutorial |
Step Four:
Attach velcro. Find the center of the bag (the 11" measurements) and make a mark. The velcro will be 2-3" down from the top edge.

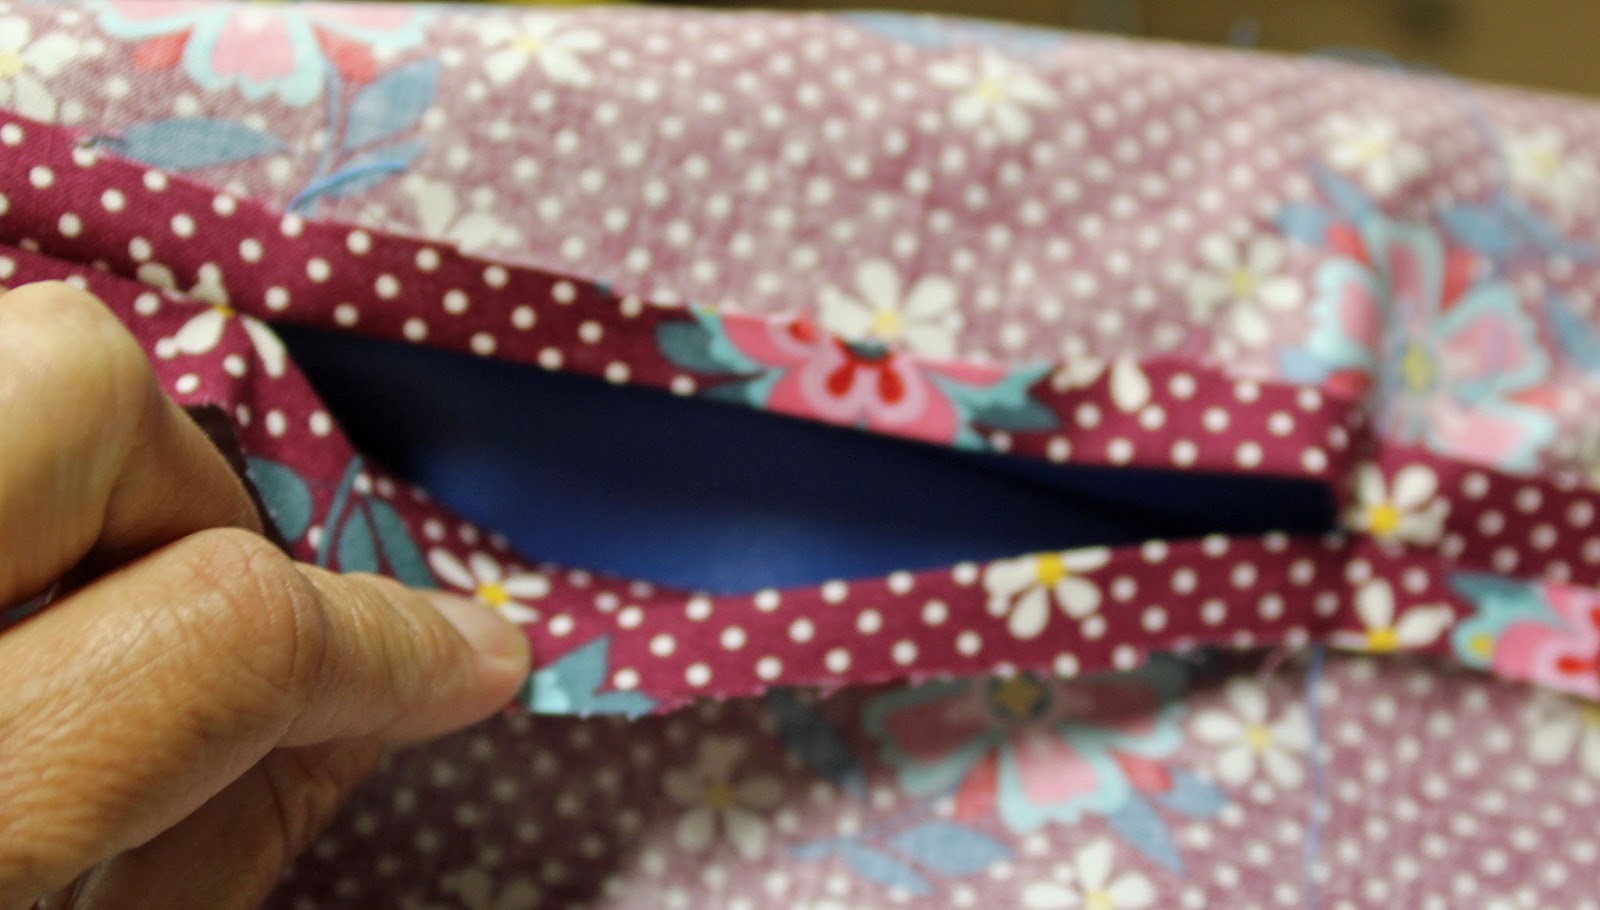
Step Five:
Line up the flap lining and outside fabric. Stitch three sides leaving one long end open. Clip corners and turn right side out.
 |
| disregard wet spot - iron spit up on fabric. |
Step Six:
Topstitch the three sewn edges. Baste the opening together.
 |
Step Seven:
Center the flap to the top of the back sleeve piece, right sides together. Baste into place

Sew side and bottom seams on main fabric sleeve and lining. On the lining leave a 6" opening on one side seam for turning. This might be a good time to slip your laptop into the sleeve and check the fit.
 |
| This is the side seam of the main fabric. |
 |
| This is the opening in the lining |
Step Nine:
Now for the box corners. Match the side seams to the bottom seams, Stitch seam allowance - this one will be 1/4" only.

Step Ten:
Turn the laptop sleeve right side out. Insert into the lining which is wrong side out. Line up edges and stitch all around the top.

Step Eleven:
Pull the laptop sleeve through the opening. Stitch the opening in the lining closed. Insert the lining into the laptop sleeve, press the top seam.

Step Twelve:
Toptsitch the top opening.

Step Thirteen:
Mark the placement of the velcro on the flap, matching it to the correct spot of the velcro on the sleeve. Stitch in place

Now sit back and admire your new laptop sleeve.

This one is for Meredith's with her college

I made a very simple - just envelope style with a hair elastic and button to fasten- laptop stleeve last year out of two-sided pre-quilted fabric (with chickens!) and I find I use it all the time. So I've been planning to make a new, hardier one. Thanks for your tutorial, which will give me more ideas about making a sturdier product.
ReplyDeleteMy have to make a new cover for myself!
ReplyDeleteThanks so much for this tutorial. I've never seen Soft and Stable; I love learning about new products. Cute cute cute laptop bag!
ReplyDeleteReally writer have explained in an easy way, but if anyone want to know about more products you can find it on hong kong b2b marketplace.
ReplyDeleteAm short of words for the amazing profit you helped me earn in just a week with binary options strategy am so sorry I doubted at the beginning, I invested $200 and earn $2,500 in just one week, and kept on investing more, today I am financially successful, you can contact him via email: tdameritrade077@gmail.com
ReplyDeleteVia whatsapp: (+12166263236)
I advice you shouldn't hesitate. He's great.
READ THIS: I'm letting everyone know about the help I received from the registered company Hacker Steve to get back my stolen Bitcoin. I got confused and agitated. I informed a coworker about my experience, and he suggested that I contact Hacker Steve. He certainly contributes to the return of a respectable amount of my "BTC" investment. I've made the decision to make my testimony public in appreciation for a job well done. Your stolen money/BTC can be recovered by Hacker Steve because Hacker Steve has cutting-edge tools that are managed by the top cryptocurrency recovery professionals in the field of Cryptocurrency Assets Recoveries. Contact him via hackersteve911@gmail.com
ReplyDeleteI am here to assist you with:
ReplyDelete1: Web design and development (full-stack)
2: Graphic Design
3: Video/Photo Editing
4: Virtual Assistant
5: Copywriting, Data Entry, Audio/Visual transcription
6: Game, Tutorial, Software Installation, etc
+393511705148